配置教程:Server + Pytorch
安装流程
本安装方法,推荐使用pytorch官方版本包:使用完整的
指定版本cuda编译的指定版本torch包,配合系统多版本CUDA Toolkit使用
- 用户安装
指定版本cuda编译的指定版本torch包的目的:训练推理使用- 服务器安装
多版本CUDA Toolkit的目的:编译C++插件/CUDA插件(如:setup.py+.cu)
ssh spa@10.201.8.249
密码:123456a
安装miniconda
wget https://mirrors.tuna.tsinghua.edu.cn/anaconda/miniconda/Miniconda3-latest-Linux-x86_64.sh
bash Miniconda3-latest-Linux-x86_64.sh
配置pip源、conda源
. ~/.bashrc # 激活配置文件# 目的:快速安装除torch外其他包
conda config --add channels https://mirrors.tuna.tsinghua.edu.cn/anaconda/pkgs/main
conda config --add channels https://mirrors.tuna.tsinghua.edu.cn/anaconda/pkgs/r
conda config --add channels https://mirrors.tuna.tsinghua.edu.cn/anaconda/cloud/msys2/
conda config --set show_channel_urls yes# 目的:快速安装除torch外其他包
pip config set global.index-url https://pypi.tuna.tsinghua.edu.cn/simple # 配置清华源
python -m pip install --upgrade pip # 更新pip创建conda环境
# 3.8版本兼容大部分torch版本
conda create -n DL python=3.8 -y
安装torch,用于训练推理
注意:torch与cuda兼容性比较严格
conda activate DL# 阉割版:只有CPU版本的torch,
pip install torch torchvision torchaudio # 下载torch包
# 完整版本[推荐]:下载Pytorch官方发布的 torch==x.x.x+cuxxx 包
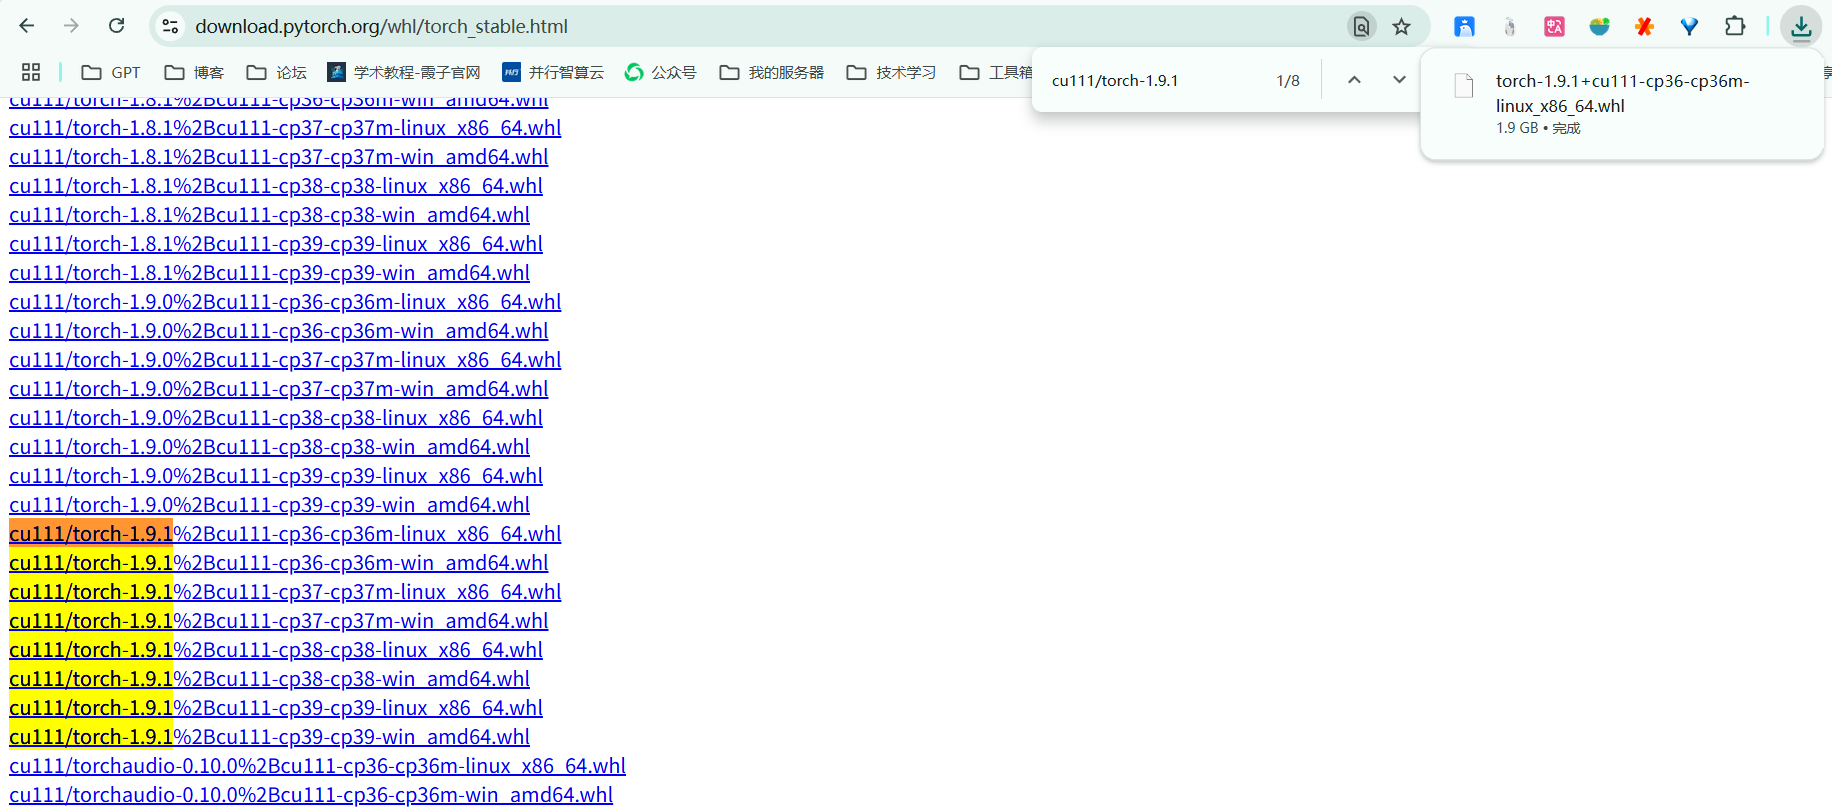
pip install torch==2.0.1+cu118 torchvision==0.15.2+cu118 -f https://download.pytorch.org/whl/torch_stable.html安装太慢了该怎么办:
- 使用VPN跑到官网下载whl文件

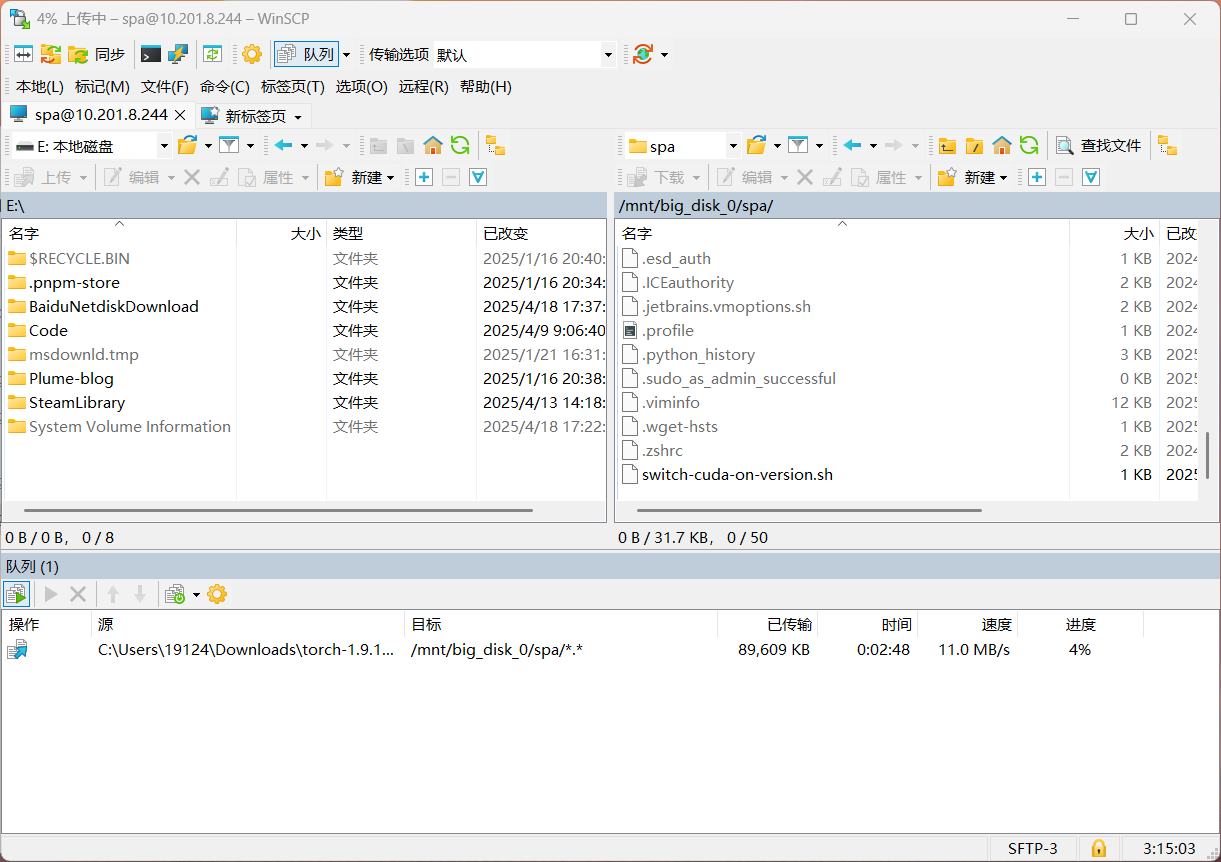
- 局域网传输到服务器

- 切换到指定环境安装torch

--------------------------
切换指定cuda版本
全称CUDA Toolkit,可在conda环境中安装,也可在服务器安装,用来编译C++包
查看服务器内可用的CUDA Toolkit版本
ls /usr/local
使用脚本切换
- 脚本名:
switch-cuda-on-version.sh - 切换使用方法:
. ~/switch-cuda-on-version.sh 11.1
#!/bin/bash

export CUDA_HOME=/usr/local/cuda-$1
export PATH=$CUDA_HOME/bin:$PATH
export LD_LIBRARY_PATH=$CUDA_HOME/lib64:$LD_LIBRARY_PATH

echo "注意:CUDA版本切换到: $1"
使用用户配置文件切换
- 在
.bashrc加入以下内容
export CUDA_HOME=/usr/local/cuda-11.1
export PATH=$CUDA_HOME/bin:$PATH
export LD_LIBRARY_PATH=$CUDA_HOME/lib64:$LD_LIBRARY_PATH- 切换到指定版本[如需其他版本cuda,则到
.bashrc文件进行更改后再次执行此命令即可]
source ~/.bashrc测试环境
python

import torch
print("PyTorch 版本:", torch.__version__)
print("CUDA 版本:", torch.version.cuda)
print("cuDNN 版本:", torch.backends.cudnn.version())