Vscode经验总结
ssh免密连接设置
服务器端:
用户目录权限为775
服务器的ssh配置
PubkeyAuthentication yes
AuthorizedKeysFile .ssh/authorized_keys- 在本机生成rsa私钥公钥。私钥放本地,公钥放服务器
ssh-keygen -t rsa
本地:
- C:\Users\19124/.ssh/id_rsa
- C:\Users\19124/.ssh/id_rsa.pub
服务器:
- 将公钥(.pub)传入服务器放入以下路径:~/.ssh/authorized_keys

便捷代码:echo "xxxx" >> ~/.ssh/authorized_keys- vscode远程连接配置认证文件
IdentityFile ~/.ssh/id_rsa_school_servers创建项目
以每个项目为中心,各个项目隔离
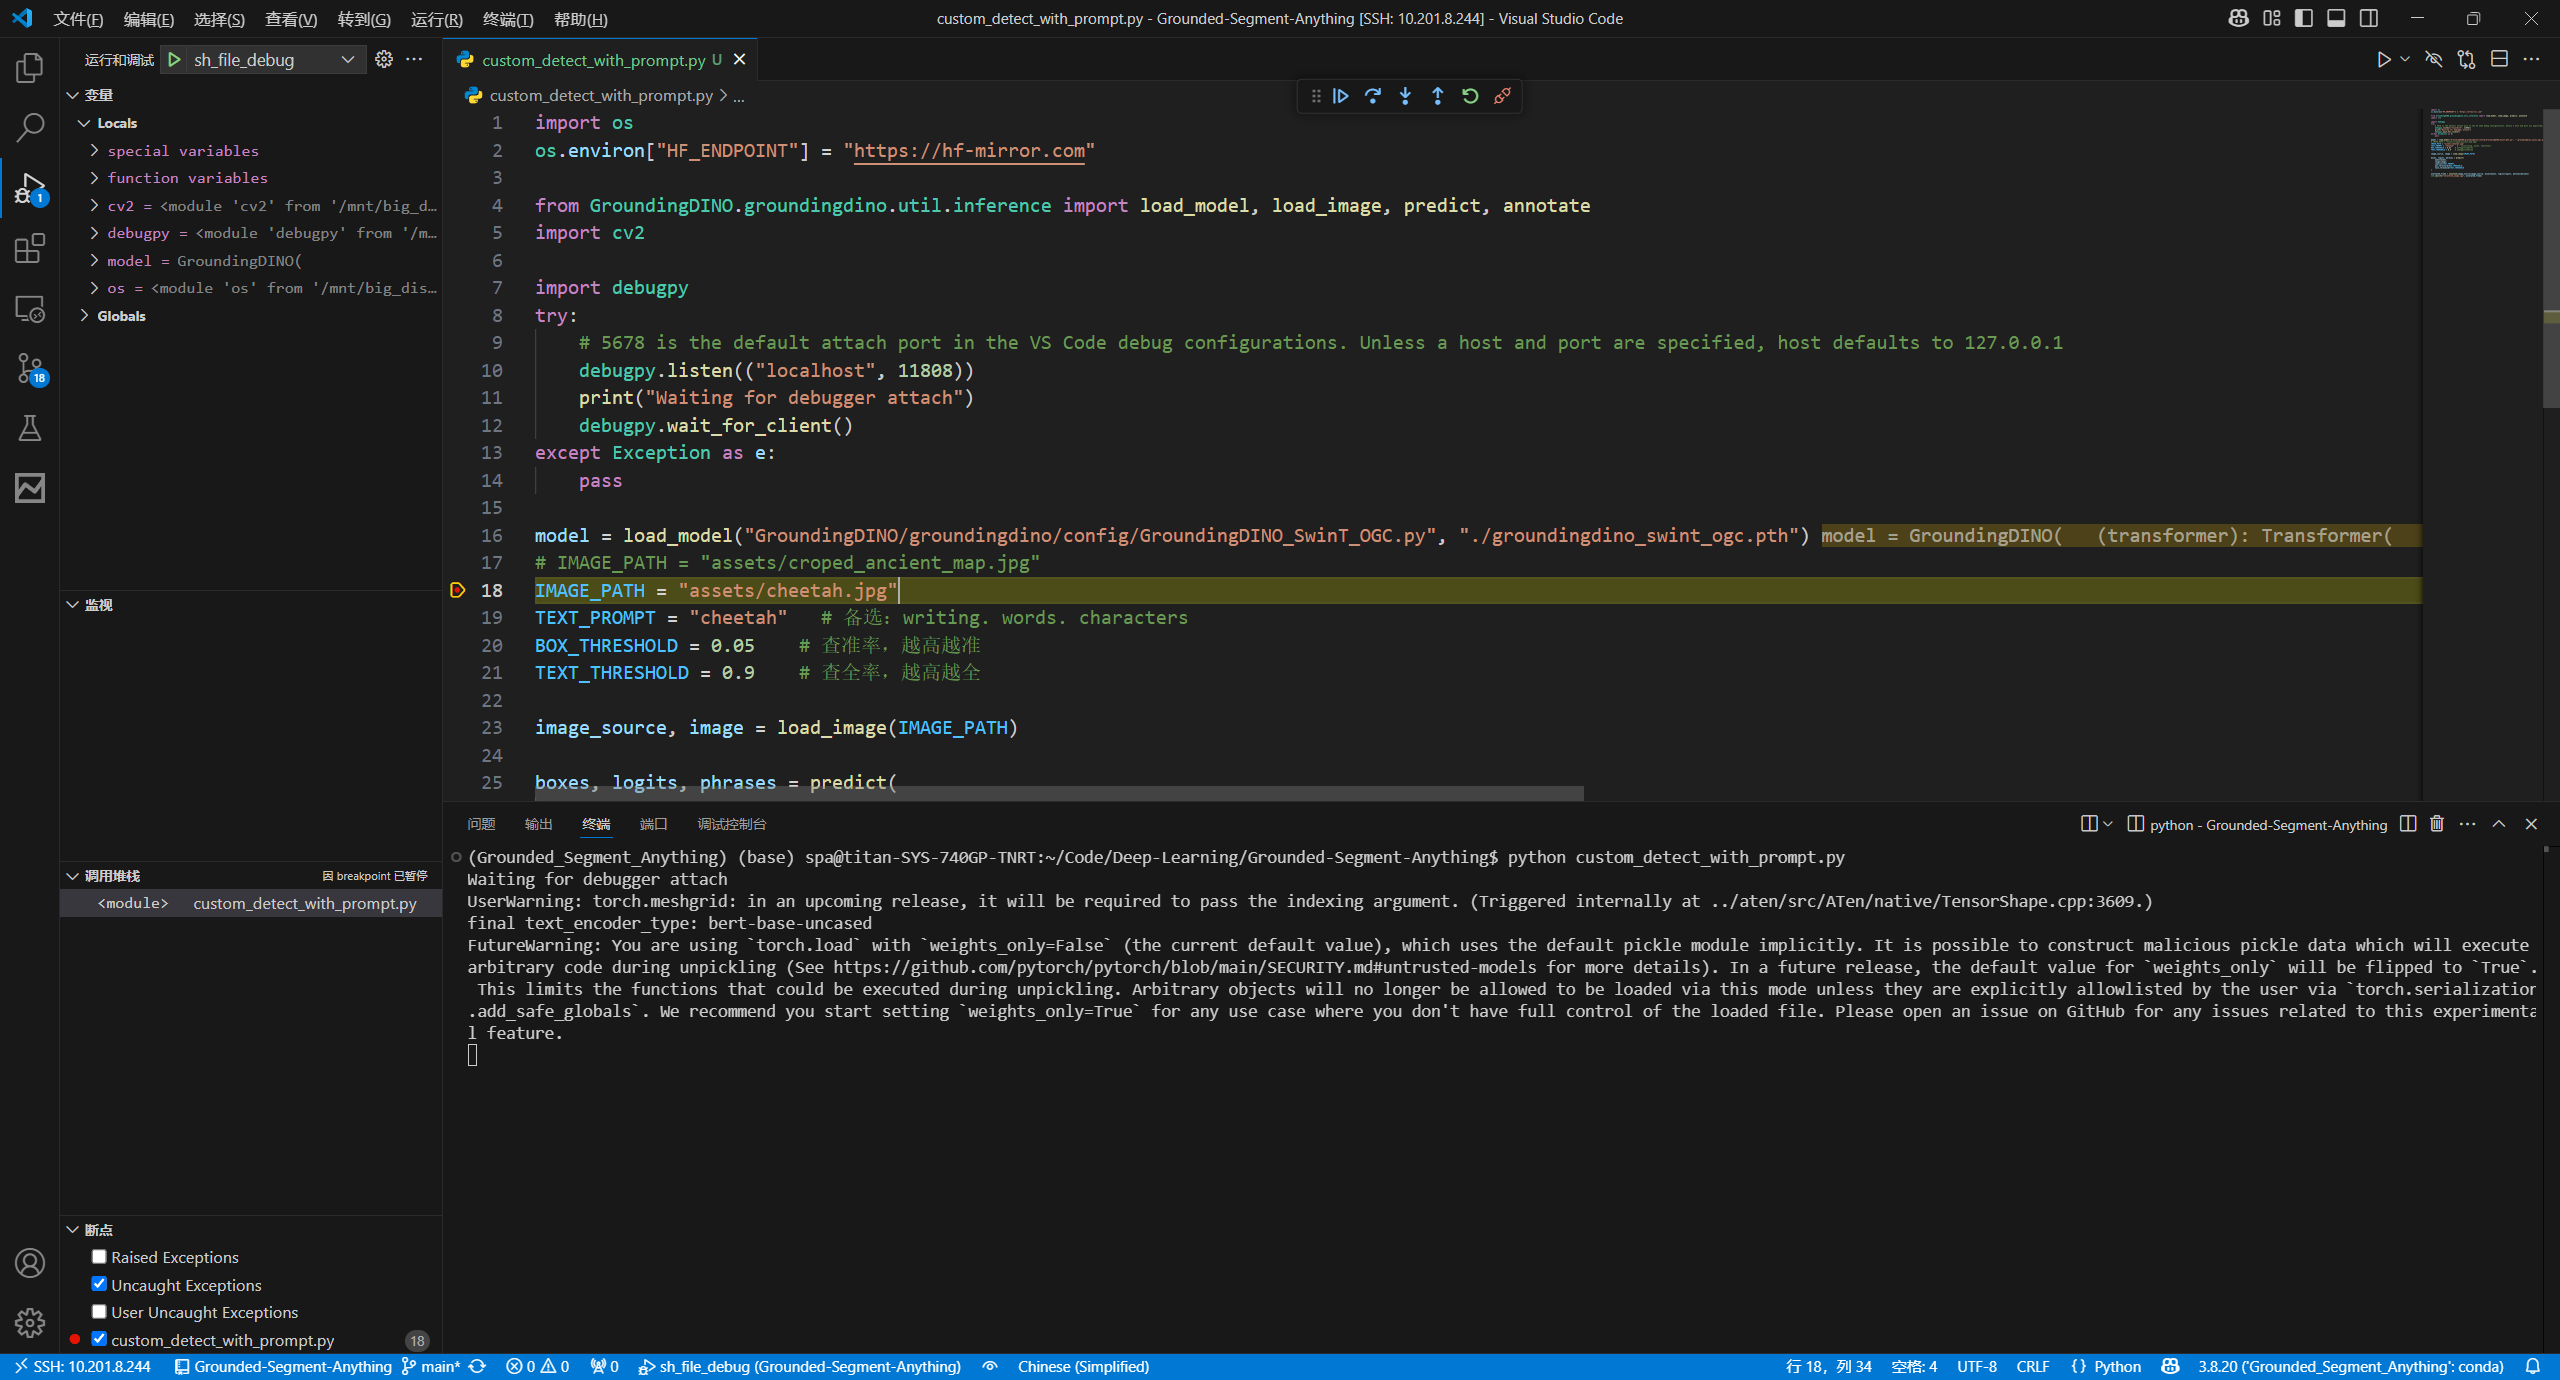
带参debug
如何在vscode中顺滑的debug python文件?
配置
- 安装依赖包:
pip install debugpy -U - 添加带参数的
launch.json文件配置并选择sh_file_debug
{
    "name": "sh_file_debug",
    "type": "debugpy",
    "request": "attach",
    "connect": {
        "host": "localhost",
        "port": 9501
    }
},- 在python代码前加上这句话
import debugpy
try:
    # 5678 is the default attach port in the VS Code debug configurations. Unless a host and port are specified, host defaults to 127.0.0.1
    debugpy.listen(("localhost", 9501))
    print("Waiting for debugger attach")
    debugpy.wait_for_client()
except Exception as e:
    pass
使用
- 在终端运行bash命令,并等待debug
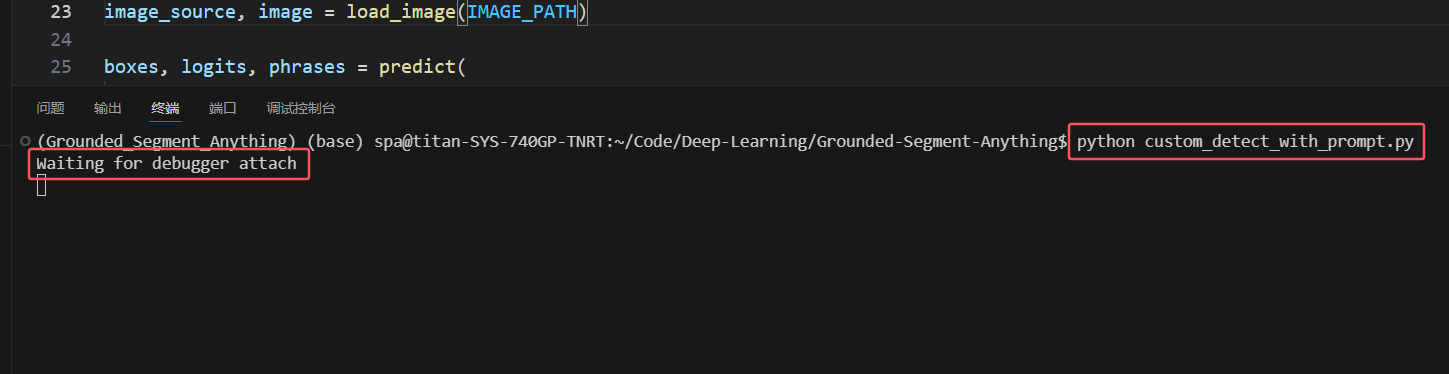
- 打上断点,点击调试按钮
sh_file_debug,开始debug